
Basic Cutting Board
Basic Project: Cutting Board
Tools:
Saw Stop (table saw)
Jointer
Planer
Materials:
I picked up $15 of random wood castoffs to use. I also purchased some butcher block oil for a finish, you could probably use any finish (just check for food safety).
Project Build:
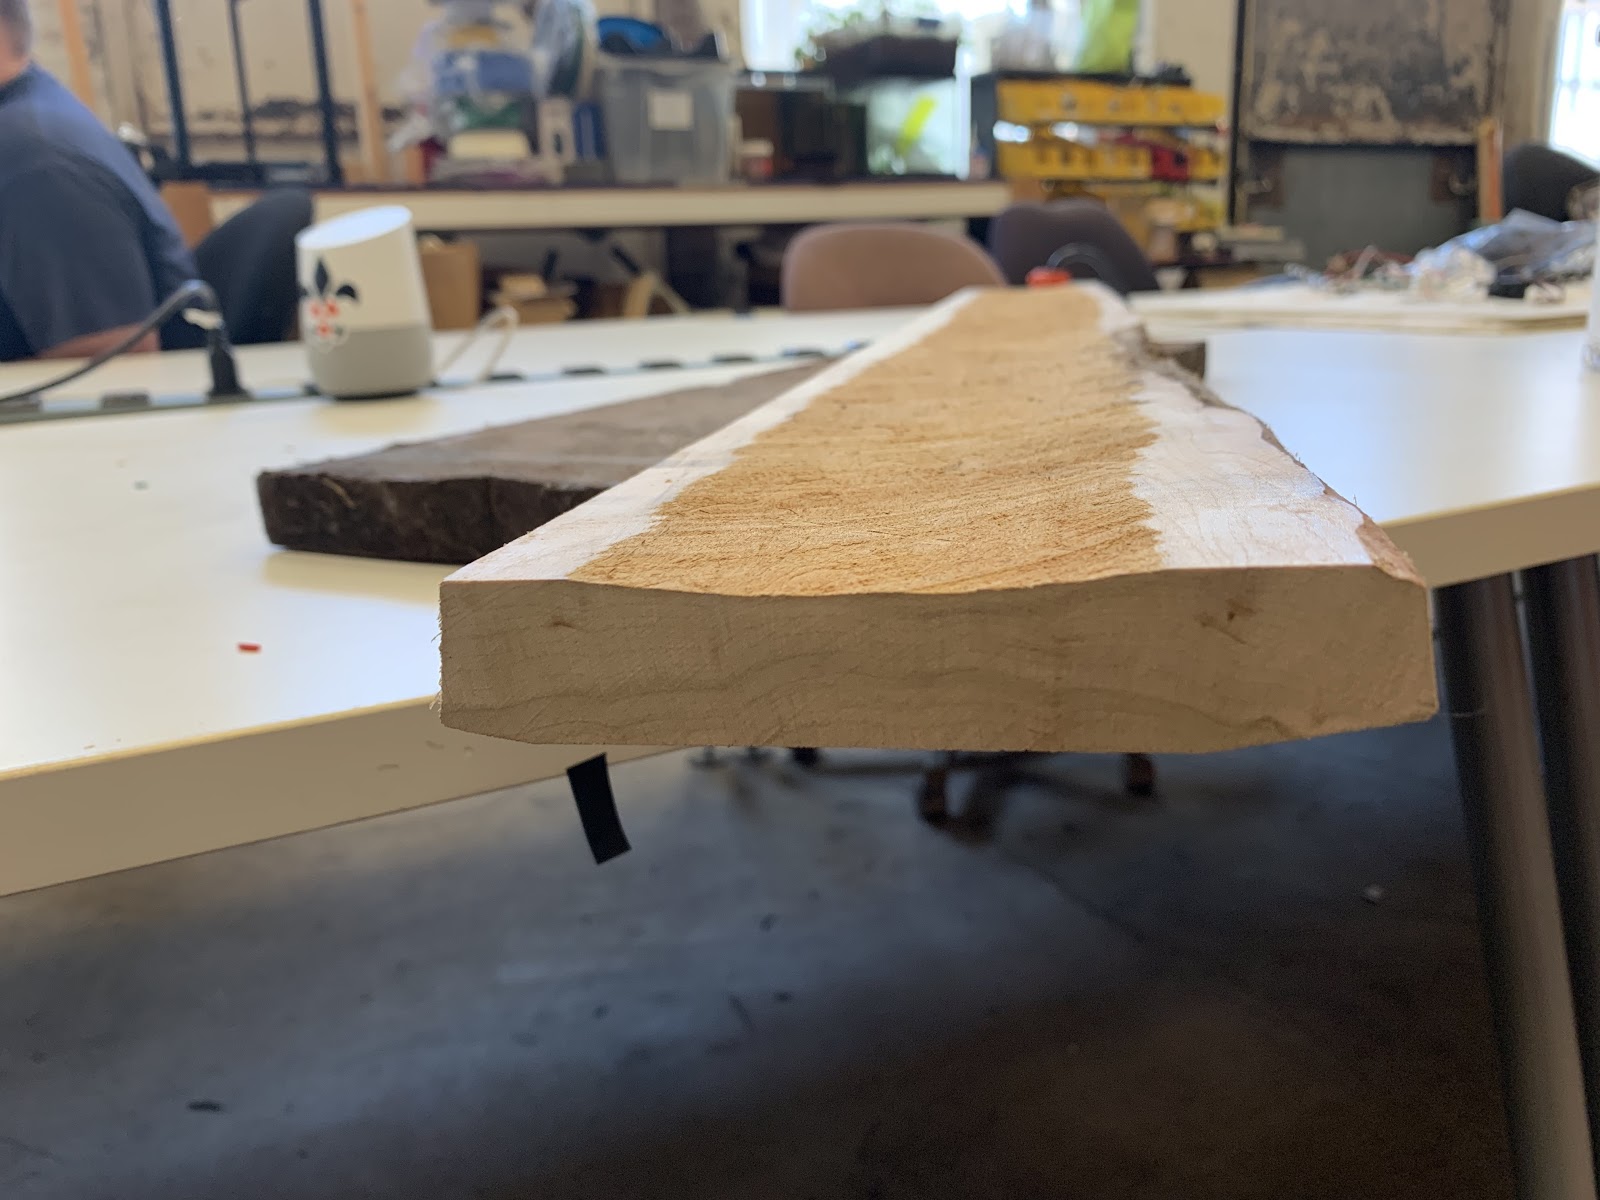
For this project I rummaged through the castoff wood section at Woodcraft. As you can see in the photo - my wood is in bad shape (I didn’t pick the worst I could find, but I didn’t sort for the best pieces). The first thing that I need to do is to prepare the lumber - first too square it off and then to level the wood pieces down to uniform thickness. I started by using the jointer.
The manual for the jointer can be found here. As always use eye protection and make sure that the woodshop ventilation is on, the vents routed to your equipment, and actually attached to the equipment (it happens). It’s not just better for the equipment, it makes clean up go a lot smoother.
Using the jointer is pretty straight forward - I started by getting one of the sides of the board squared off. This is the easiest place to start since it doesn’t have a lot of material (compared to the flat, wide face) and isn’t overly warped. Just take it slow and use shallow cuts (adjust the cut depth with the crank on the machine).
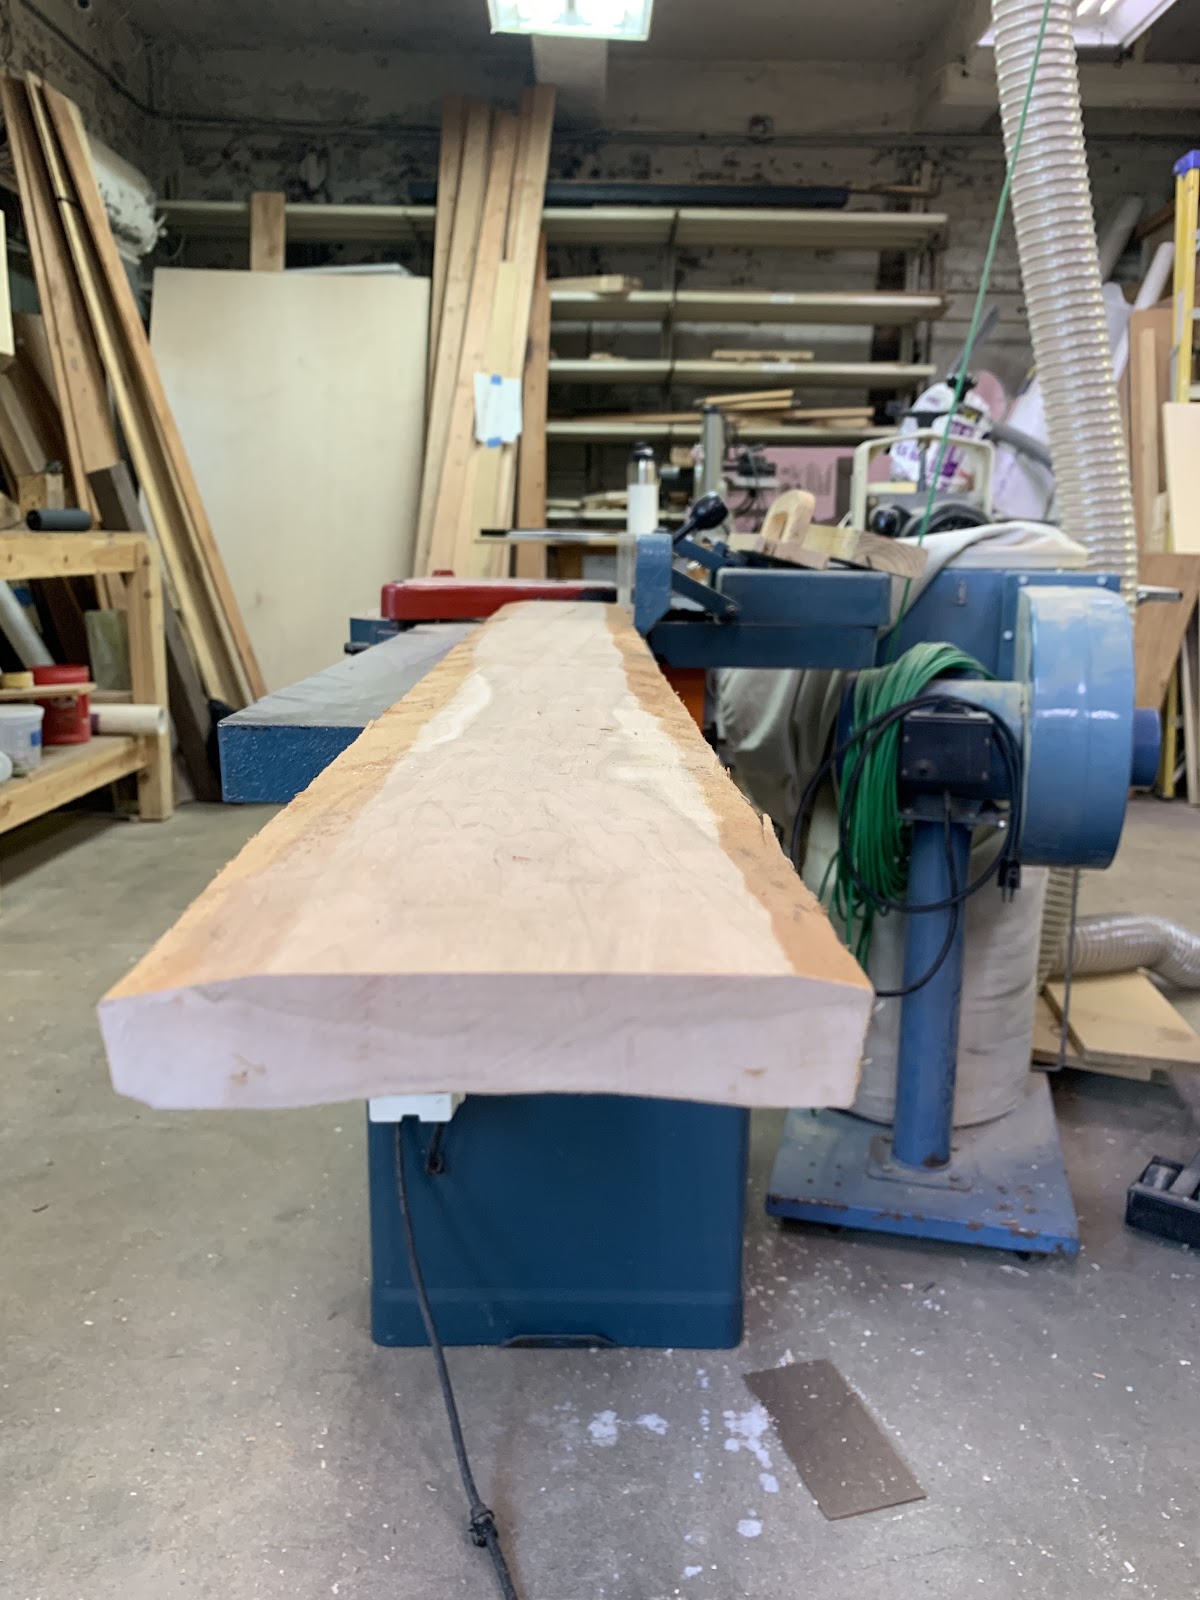
With one edge squared off, I figured it would be easier to just run the other side through the table saw (manual here) to even it out.
You can see in the photo where there was some burning from the saw blade. There are a couple of things that could cause this including the saw blade not being sharp enough or the fence not being aligned properly. (Link with info)
Finally I could joint the top and bottom of the board. I did these last because I do need to be able to apply even pressure.

One major lesson here is that as I was jointing the boards, I would get a little bit of tearing. I was keeping steady pressure on the board as rolled over the cutting head, without necessarily forcing it downward. Reviewing the manual/ light googling later, it turns out that running the board through the cutting head with the grain facing a certain way makes this process much easier. For the cherry wood, this wasn’t an issue but the walnut was much harder and had more tearing issues.

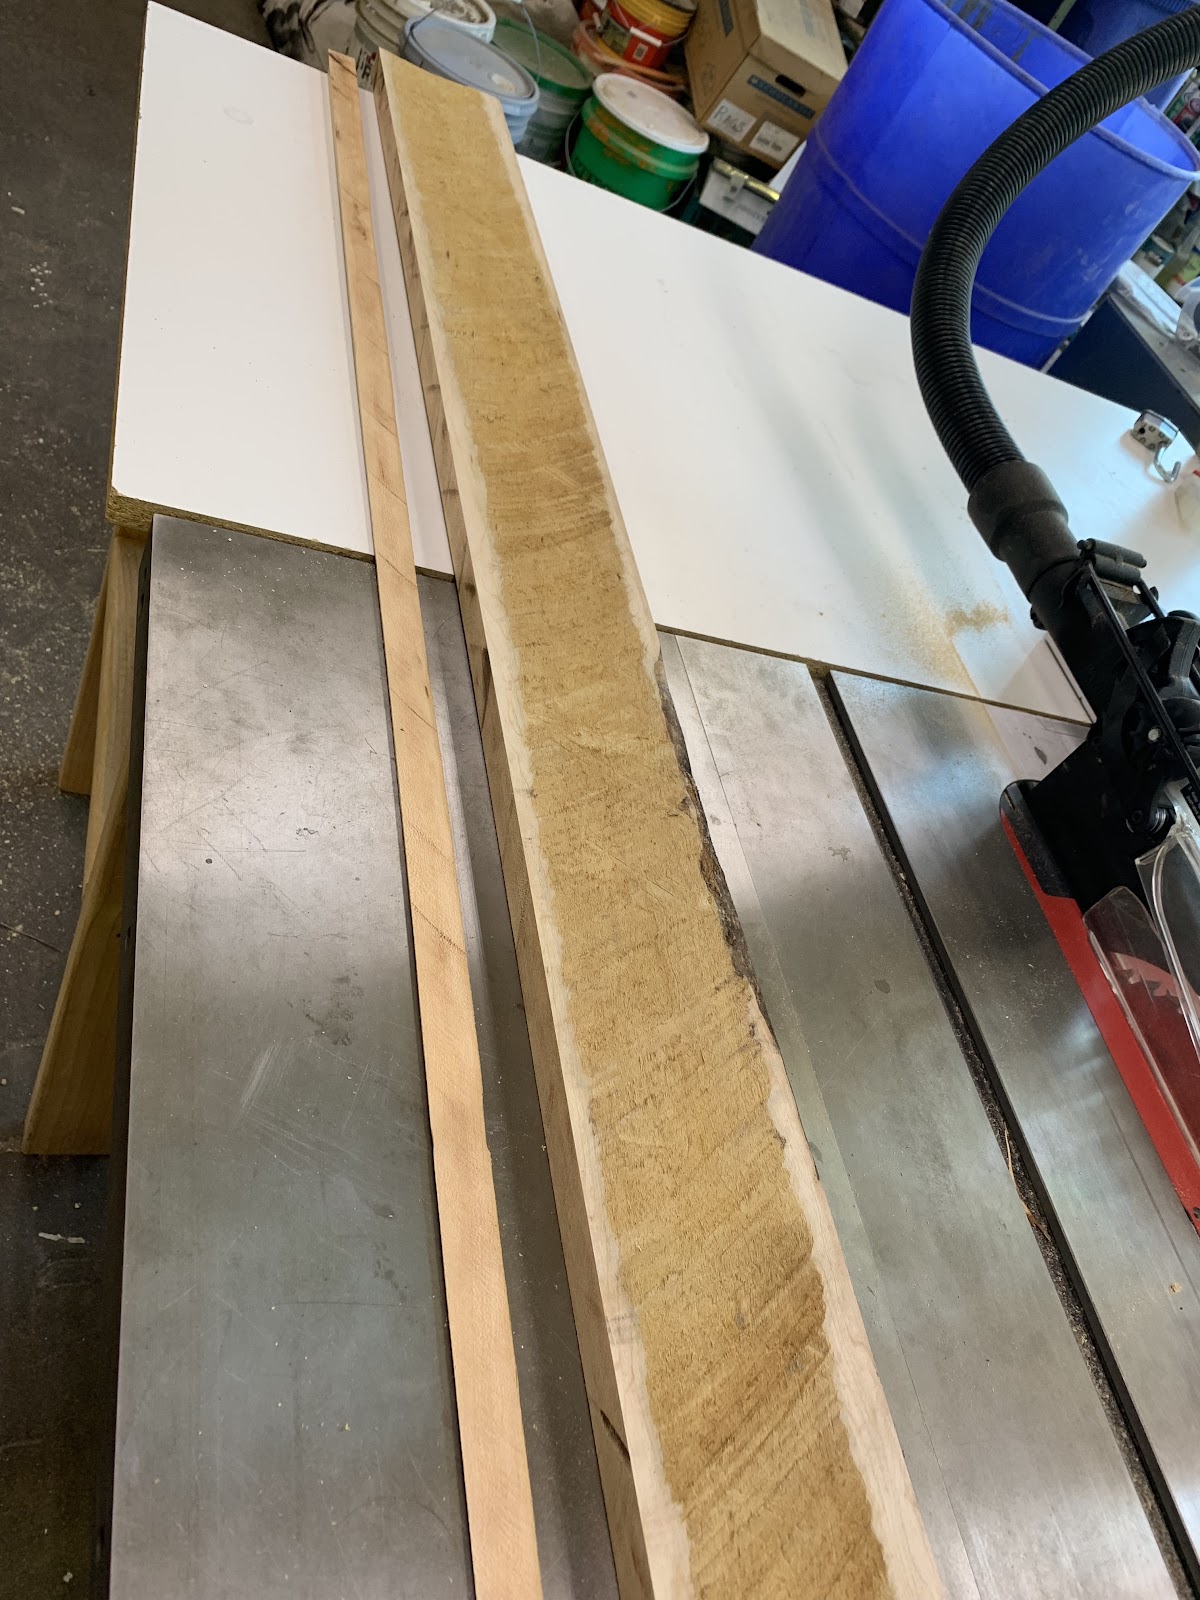
With the boards squared, I then began to use the planer to get the boards to uniform thickness. Again, and this seems repetitive but needs to be said, if you have the ventilation system hooked up and running to this equipment it will save you a lot of time cleaning up wood shavings.
Planing is straight forward, there were no major surprises using this tool. Again shallow cuts and patience.
With the boards now uniformly thick I was ready to actually construct the cutting board. For the first time, I measured my boards and sized out how large I wanted my cutting board to be. Exact size obviously doesn’t really matter. I then took each board and cut them into ~1.5” strips using the table saw.
The glue up was surprisingly difficult, and not something I’d done before.
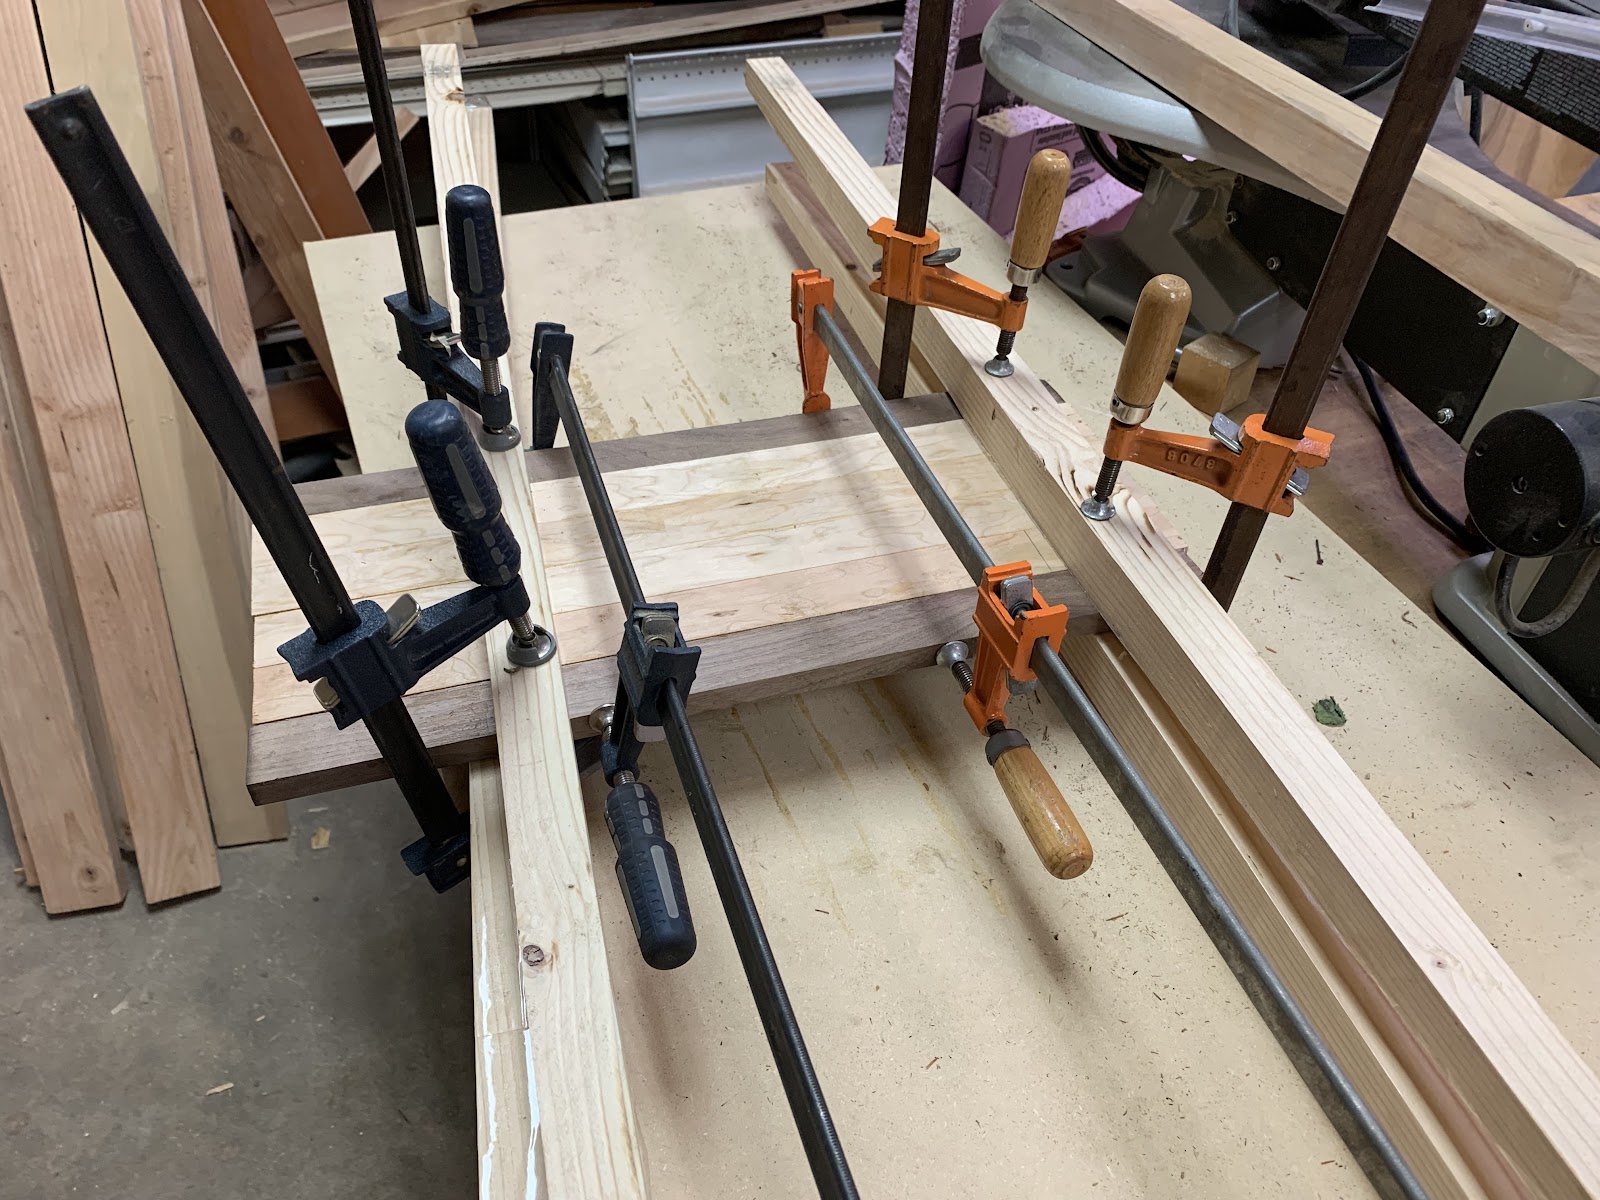
I knew that I needed to use vices to hold the pieces together, but I didn’t think about how to keep the surface of the cutting board even. The best way to do it is to use other pieces of square lumber as a press to keep the boards even - making sure to wrap them with tape so they don’t accidently get glued into the piece! With the glue on, hunting down the boards and then juggling vices was a pain. I’d really recommend doing a dry run before adding glue.
I was pretty flippant with this step. I figured I’d make mistakes the first time and then document how to undo the issues I introduced.
I did an awful job.

Not to mention that I had dust on the bottom during the glue step that then was caked on after the glue dried. It was so bad I didn't even take a picture.
I think the typical way to fix this problem is to use a combination of a hand planer to get the surface smooth, and then sand down any glue spots (glue interferes with the wood finish). After a few minutes with the random orbital sander, I realized that this current board was toast or at least a major time sync. Using the table saw, I cut the board in half lengthwise and ran the pieces through the planer again (it was just a little too wide). This got the piece back into a semi smooth finish look.
I then did the glue up again on the cut I created. I was much more careful this time - I had everything ready to go and then used a screwdriver/ paper towel to gently remove any excess glue that was squeezed out when I applied the vice.
At this stage, I just need to square off the ends with the table saw and then I should be ready to apply a finish. I used the random orbital sander to with 100 grit and 220 grit to smooth everything out and then applied the butcher block oil according to instructions.
This was a super simple project to do and let me get a little bit of experience using the woodshop tools.